Shadowbox Shell Letters

It’s been a minute since I shared some crafts. Blame it on 2020!

This holiday season has been crazy, and to be honest, I’ve been sewing a lot of masks and other fabric gifts for people. I’ll post about that later, but first, I want to share something quick and easy that might be helpful for anyone who hasn’t finished their holiday shopping yet!

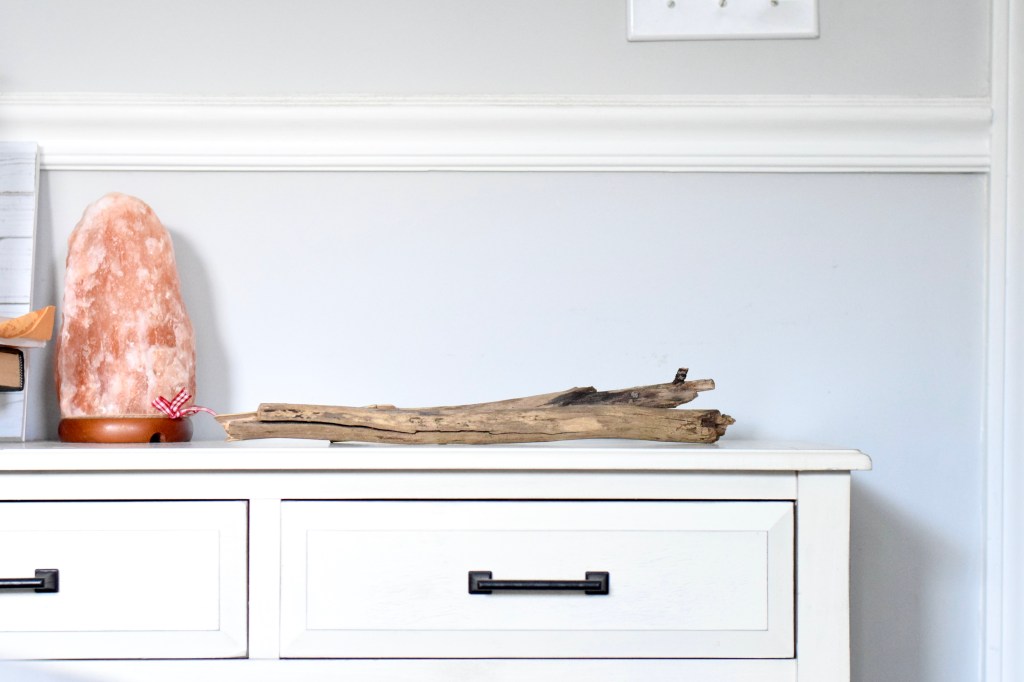
A few months ago, I found these sea shells at my parents’ house. I had picked them maybe 10-15 years ago from some beach in Florida and had kept them stored in these empty gummy bear containers. When I found these containers in a cabinet at my parents’ house, I knew I could find a craft project for them.

I decided I was going to make these super gifts for my niece and nephew to pass along the sentimentality of these sea shells. I always enjoyed picking sea shells with my grandmother and mother when I was a kid, and I wanted my niece and nephew to have a part of that too.

You’ll need:

  • A Letter Template/Cutout (I used the PT Serif Caption font that I cut out using my Cricut)
  • Shells
  • Shadow Box Frames
  • A Hot Glue Gun
  • Hot Glue Gun Sticks

What you’ll need to do is:

  1. Take your shells and glue them to the template using your hot glue gun. It will take some tetris-ing to get the shells to fit on the template the way you want them to. I also had to glue some shells on top of each other, but hey, crafting isn’t about being perfect.
  2. Once you’ve glued enough shells on the template to complete it, glue the template to the backing of the shadow box. Give it a few shakes or tugs to make sure it’s stable.

That’s it! You’re done! And you’re good to hang it up or stick it on the shelf.

I ended up making a few more for our friends and family, so I would highly recommend this project if you’re in a pinch. You can replace the shells with anything else – pebbles, marbles, glitter, etc. Now go ahead and give it a try!

Wooden Belt Organizer

Happy Fall Y’all!

It’s starting to cool down in Georgia, but it’s still hot af in this craft room haha! I wanted to share another project I did recently that helped with a little pet peeve I never knew existed.

Not too long ago, one of our friends had given me a broken stick from his back yard. I wish I could say that I’m the kind of person that would turn down free shit I don’t need, but I’m not. I took the stick but it sat on the banister of our stairs for a long ass time. Like really, what was I going to do with a broken stick? But then one day, something incredible happened…

So there I was watching an episode of Man Versus Wild with Bear Grylls climbing on some snowy mountain side. I looked over to my left which is where my boyfriend’s closet is, and what do I see? Belts. Belts just thrown over the top of the door all willy nilly, and it was then that I thought of something I could do to fix that.

I decided I was going to glue that stick together and turn it into a belt organizer for my boyfriend. I was lucky in that I had nearly all of the materials I wanted from other projects I’ve done in the past. If you’re interested, here’s what I had:

  • Elmer’s Glue-All
  • Sandpaper (I used a dry wall sanding sponge because that’s what I had on hand)
  • Wood Stain
  • Polyurethane
  • A drill
  • Rope
  • Hooks (this was the only thing I had to buy off Amazon)

With all those things in hand, all I needed to do was:

  1. Glue the stick together where it had broken and let it sit for a day.
  2. Sand it down to get rid of any potential splinters.
  3. Drill a hole at both ends of the stick.
  4. Stain it with the wood stain.
  5. Coat it in a layer of polyurethane. I think it’s recommended that you do at least 2 coats, but this project wasn’t serious enough for me to care about a second coat. Let it dry for at least a day.
  6. Take the hooks and screw them in.
  7. Thread the rope through the holes and tie a knot at the ends.

That’s literally it. This was a super easy project to do, and once you have all of these materials, you can apply them to other projects like making a necklace holder or something. Just take a look at what you have in your own backyard and think about all the wonderful things it can be!

Until next time!

Family Pillows

Let me tell you about one of the easiest projects I’ve ever done! These personalized pillows were the perfect way to use up some extra fabric and burn some time on a Saturday morning.

I started with a 12 x 22 inch pillow insert from Hobby Lobby and 2 pieces of fabric cut to a half inch larger than the pillow insert (12.5 x 22.5 inches). Then I watched a video similar to this one on YouTube, but if you just search “how to sew a pillow” on YouTube, you’ll find tons of great videos that work for you.

One thing that is super important to remember is to sew all 4 sides, BUT make sure you leave an opening big enough for the pillow insert to go in. Honestly, sometimes I forget this step and end up with a pillow case that is sewn inside out and no way to flip it inside out.

Anyways, after I stuffed the pillow insert in, I closed the gap left by sewing together the opening. I personally ran it through the sewing machine, but it’s recommended to hand-finish that gap.

Lastly, I added iron-on vinyl using my Cricut machine and the heat press. I couldn’t find the font I used, but a few of my favorites are Hellena Script, Jasmine, and Wisdom Script.

These two are out the door and have been given as gifts, so the next time you have a housewarming party to go to or need a quick and easy homemade gift, try out these personalized pillows!