Family Pillows

Let me tell you about one of the easiest projects I’ve ever done! These personalized pillows were the perfect way to use up some extra fabric and burn some time on a Saturday morning.

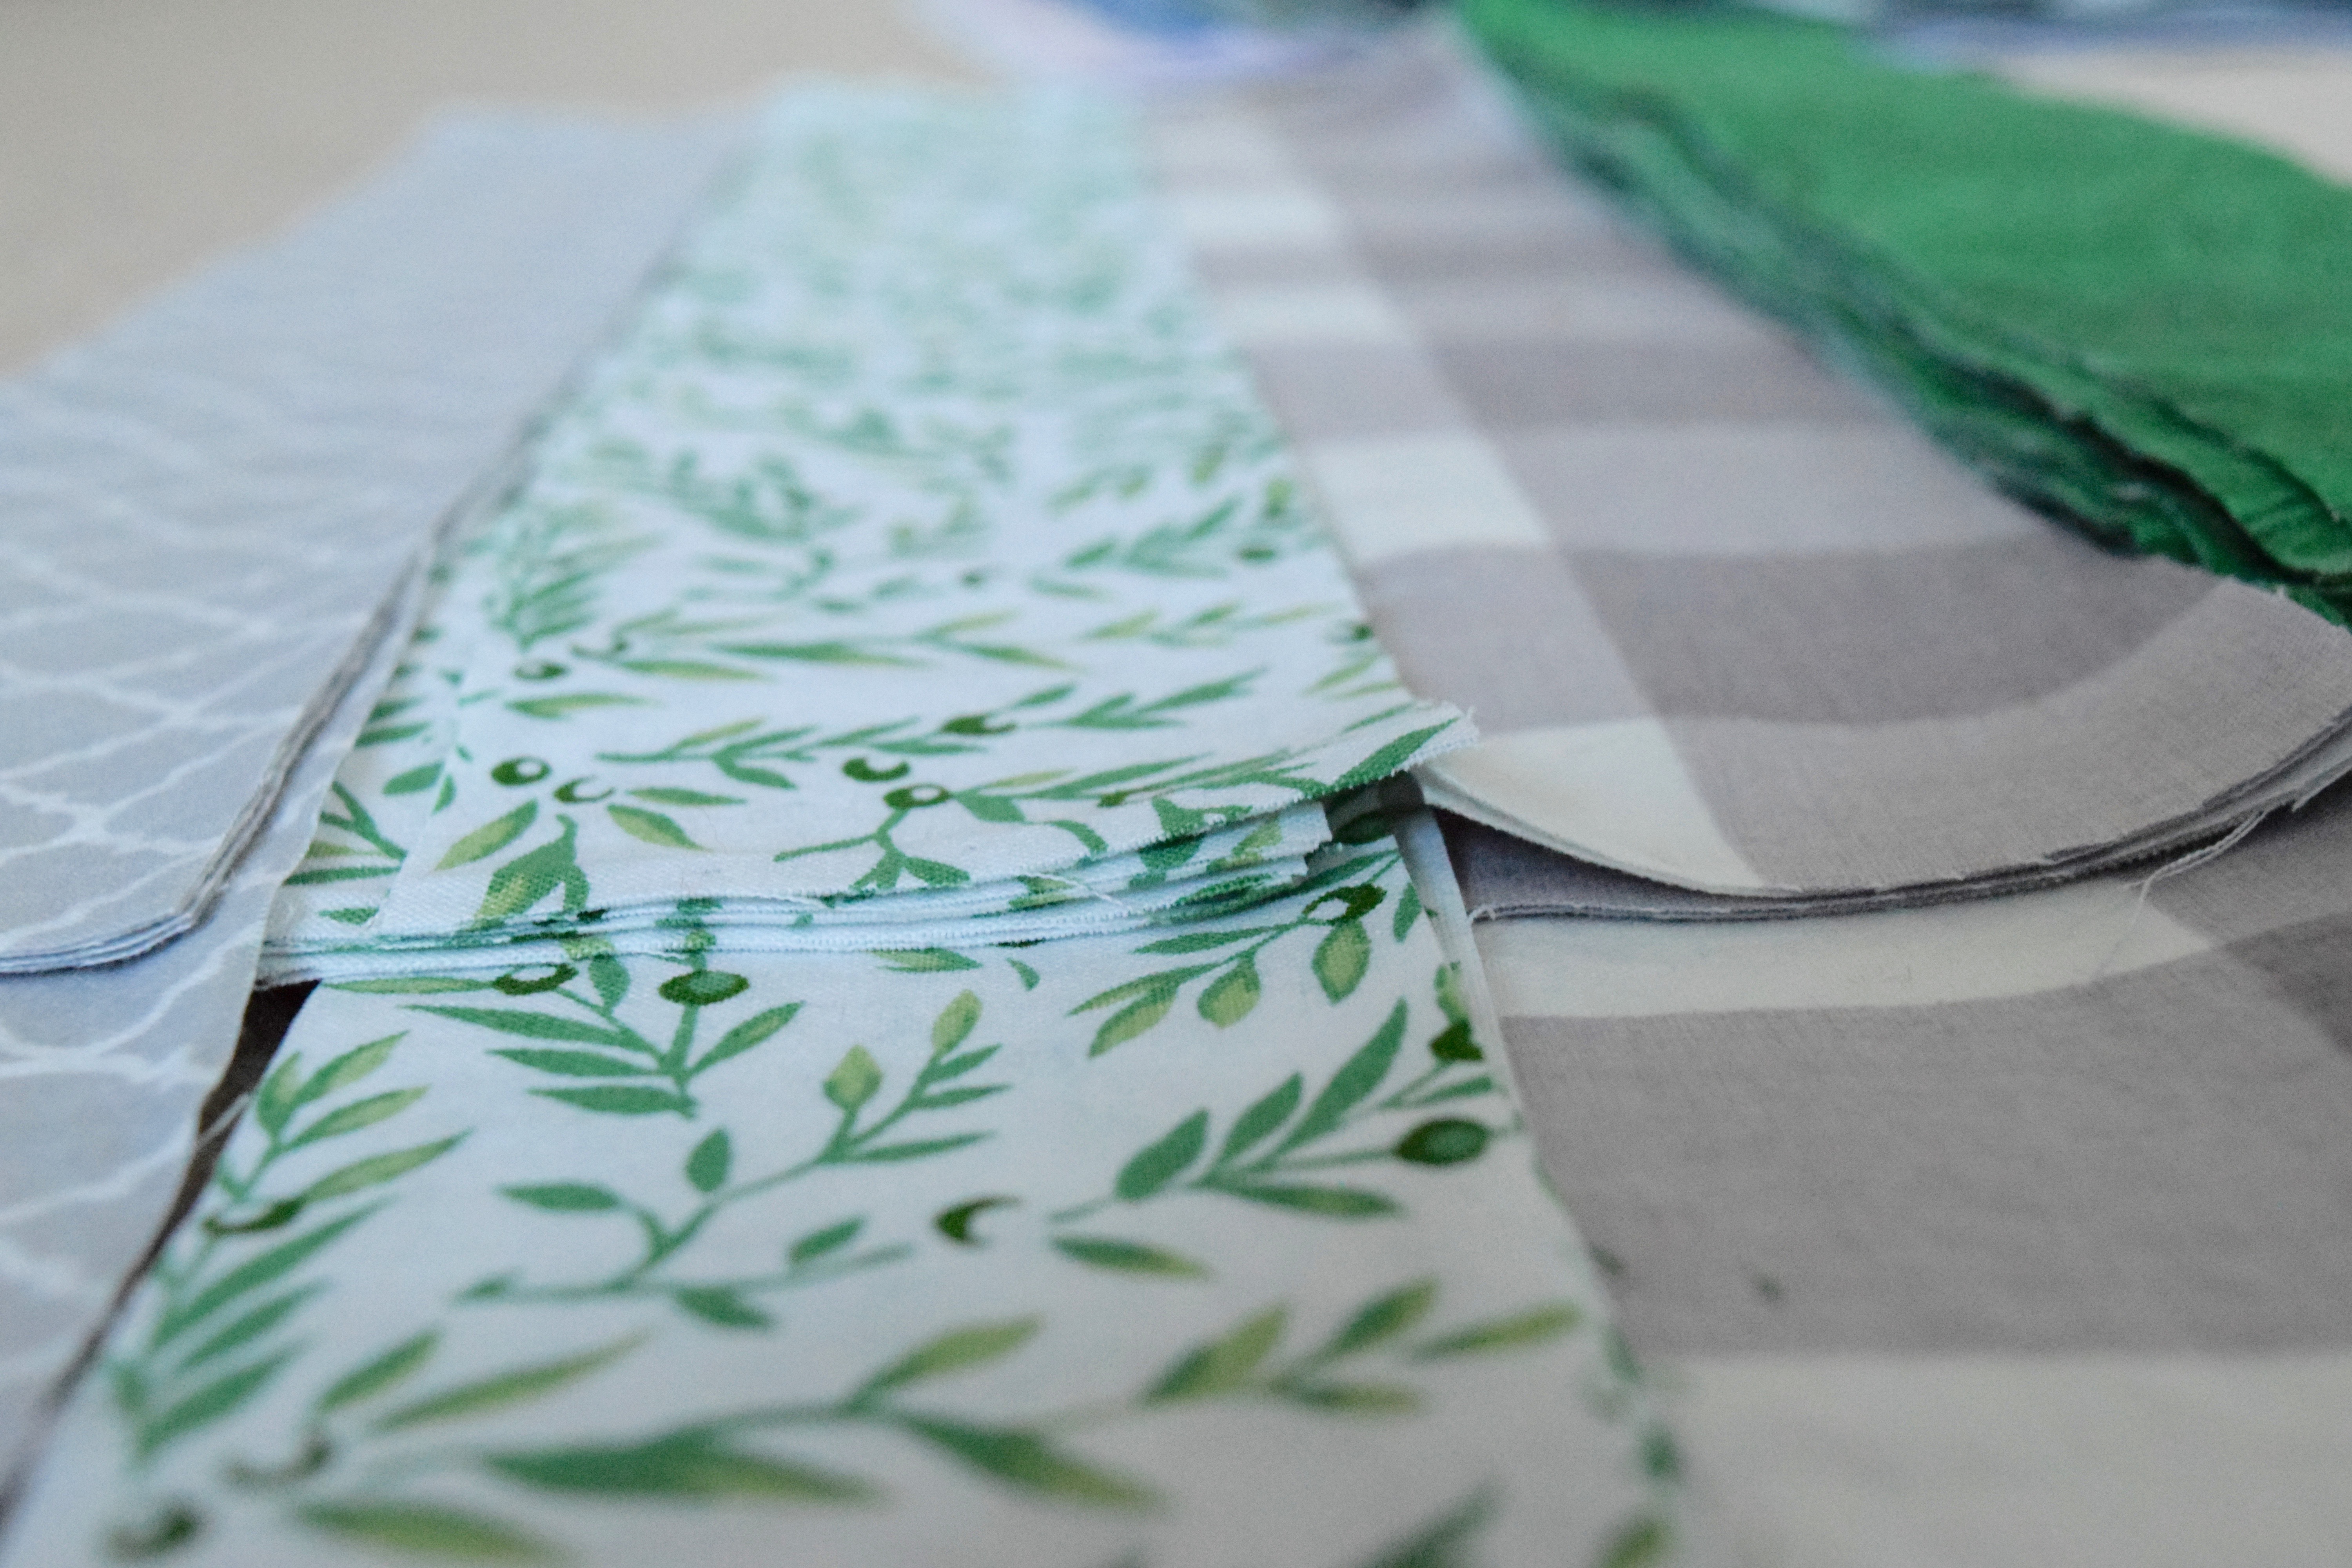
I started with a 12 x 22 inch pillow insert from Hobby Lobby and 2 pieces of fabric cut to a half inch larger than the pillow insert (12.5 x 22.5 inches). Then I watched a video similar to this one on YouTube, but if you just search “how to sew a pillow” on YouTube, you’ll find tons of great videos that work for you.

One thing that is super important to remember is to sew all 4 sides, BUT make sure you leave an opening big enough for the pillow insert to go in. Honestly, sometimes I forget this step and end up with a pillow case that is sewn inside out and no way to flip it inside out.

Anyways, after I stuffed the pillow insert in, I closed the gap left by sewing together the opening. I personally ran it through the sewing machine, but it’s recommended to hand-finish that gap.

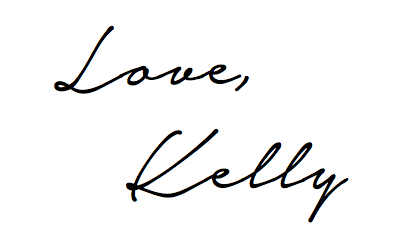
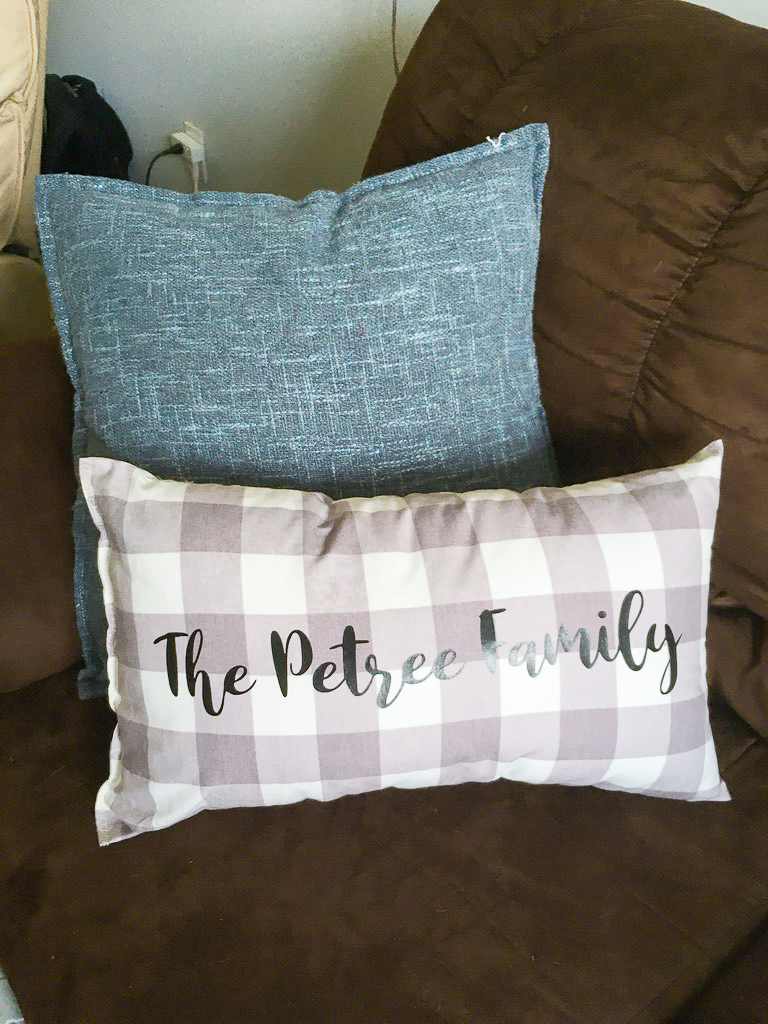
Lastly, I added iron-on vinyl using my Cricut machine and the heat press. I couldn’t find the font I used, but a few of my favorites are Hellena Script, Jasmine, and Wisdom Script.

These two are out the door and have been given as gifts, so the next time you have a housewarming party to go to or need a quick and easy homemade gift, try out these personalized pillows!

Let’s Get to Quilting!

DSC_0335

Happy March! I recently embarked on a journey to make my own t-shirt quilt after I got the best gift of all time… a sewing machine! I had been wanting one for a while now so I could patch up some of my clothes instead of buying new stuff (money saving tip right there). But I quickly found out there are so many awesome projects you can do with a sewing machine! Continue reading

DIY Plant Stand Makeover

DSC_1042

Since last year, I have accumulated 14 plant babies. It all started with my HORT 2000 class at UGA taught by the sweet David Berle in Spring 2016. Mid way through the semester, one of our assignments was to identify, repot and maintain an indoor plant until the end of the semester. I got a banana croton, which I did not know until Lowe’s replied to my tweet (thanks for saving my grade, Lowe’s).

lowes-tweet

Currently, I have all my plants out in the sunroom where they get plenty of light. I have been using my sister’s old bookcase from college ( a.k.a. my hand-me-down bookcase in college) as a plant stand, but it’s been looking a little raggedy with water damage and scratches. With a free weekend, I decided to give my plant stand a makeover! Check out how I did it below with pictures in the slideshow below.

Tools:

Directions:

  1. Clean off your bookshelf and take it apart with the screwdriver.
  2. Cut the marble contact paper to a size big enough to cover the top and sides of the panel. I didn’t bother covering the bottom side of the panel since no one is going to see it anyways.
  3. Slowly peel back the contact paper and stick it to the board starting at one corner, and pressing out the air bubbles as you move across the panel.
  4. Wrap it around the sides and corners, and wrap the remaining paper underneath.
  5. Take the panels outside and spray them down with three coats of Rust-Oleum Crystal Clear Enamel. Let it dry for about 15-30 minutes between coats.
  6. Re-assemble the plant stand after the panels dry.
  7. Viola – you have a new fancy plant stand!

Notebook Makeovers

It’s that time of the year again when the Wal-Mart shelves are stocked with school supplies, and everyone is trying to soak in the last bit of summer before school starts. School supply shopping is my favorite part of ringing in the new school year, but spending money is my least favorite part.

I’m a pretty cheap person when it comes to school supplies because I end up throwing all my notebooks away at the end of the year, so I usually buy the cheapest notebooks I can find and roll with them for the rest of the semester. With this being my senior year, I really want to allow my personality to be present with all that I have and all that I do, so I decided to give my notebooks some personality on a budget.

Check out my notebook makeovers below!

Materials:

  • Notebooks ($0.17 at Wal-Mart)
  • Washi Tape/Decorative Tape
  • Clear Tape
  • Cardstock or Decorative Papers

Instructions:

  1. Wrap the front cover of the notebook with cardstock or decorative paper
  2. Tape it to the back of the front cover
  3. Run the washi tape down the seam of the decorative paper (or don’t if you want a little pocket in front)