
Happy March! I recently embarked on a journey to make my own t-shirt quilt after I got the best gift of all time… a sewing machine! I had been wanting one for a while now so I could patch up some of my clothes instead of buying new stuff (money saving tip right there). But I quickly found out there are so many awesome projects you can do with a sewing machine!
Now, I am not the best sewer? seamstress? in any way, but I am a quick learner. I did my research on what I needed to start my own t-shirt quilt and consulted with my roommate, who was a fashion major in college. Then I bought all the tools to make my life easier despite this complicated project for a beginner. Here are some of the things you’ll need:
- T-shirts
- Interfacing
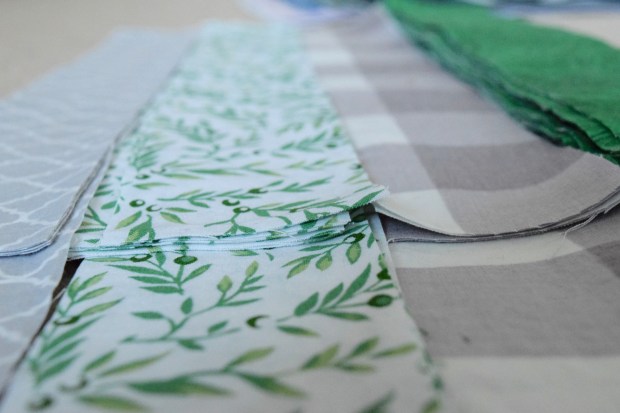
- Fabric (for the fabric, I stuck with my high school’s colors – green, black, and silver/gray)
- Rotary cutter
- Cutting mat
- 15×15 inch acrylic board
- Iron
- Ironing board
The first thing I did was cut all my high school t-shirts in half down the seams, so I could have both sides of the t-shirt available for use. Then I ironed the shirts and used the square 15×15 inch acrylic board to center the graphics and cut the t-shirt squares. After that, I used the same acrylic square to cut the interfacing that would go on the back of my t-shirt squares.

To give myself a break from cutting out squares all day, I started cutting out the strips of fabric that I would use as a border for the t-shirts. The last thing I have done up to this point in time is iron the interfacing on the back of my t-shirts.
I am sure you can find better instructions online, but I hope this gives a high level idea of what you’ll need to do in the beginning. I’ll keep you updated as I make progress on this t-shirt quilt, and hopefully, it turns out pretty nice.
Let me know if you have any questions about my process thus far!


2 thoughts on “Let’s Get to Quilting!”
Comments are closed.